Securing your internal systems with TLS can be a daunting task, even for experienced administrators. However, with the right tools and guidance, the process can be made more manageable. In this blog, we’ll show you how to enable TLS for your internal systems on your Cribl Leader Node. We’ll walk you through the steps, and provide a video tutorial embedded below to help you follow along.
Cloud!
Cribl.Cloud users can basically skip this. TLS on your Leader is handled by our team of experts.

Which TLS?
First, let’s clarify which connections we are going to TLS-enable. There are many potential connections in your Cribl deployment. The first 3 pertain to connections to the Leader, which we will be covering in this doc.
Your browser to the Leader node (GUI)
Programatic access (scripts, etc) to the Leader node (API)
Workers communicating with the Leader (control channel)
The following connections concern Workers receiving and sending data, and won’t be covered here. More information is available in Cribl docs.
Data producers and senders connecting to Workers
Worker and Edge nodes connecting to destinations
While not common, you can also make GUI and API connections directly to Worker and Edge nodes
Getting a Certificate
The process of getting a valid cert is outside the scope of this doc. Every Certificate Authority (CA) has its own process. You can also run a self-signed cert. Using OpenSSL to generate a self-signed cert is easy, and fine for testing, but a legitimate cert signed by your organization’s CA is considered best practice for production use.
The Leader GUI and API
Cribl’s Leader node listens by default on TCP 9000 for both the GUI you interact with as an admin, as well as the API used for scripting, automation, etc. We’ll start by adding TLS to this interface.
Mind the context! In Global Settings, you’ll find configurations relevant to the Leader as a system. This is the context we want to work with for this stage. Connections to Worker nodes will not be impacted. Their TLS settings are found in the Worker Group settings context.
Enabling TLS for the GUI/API
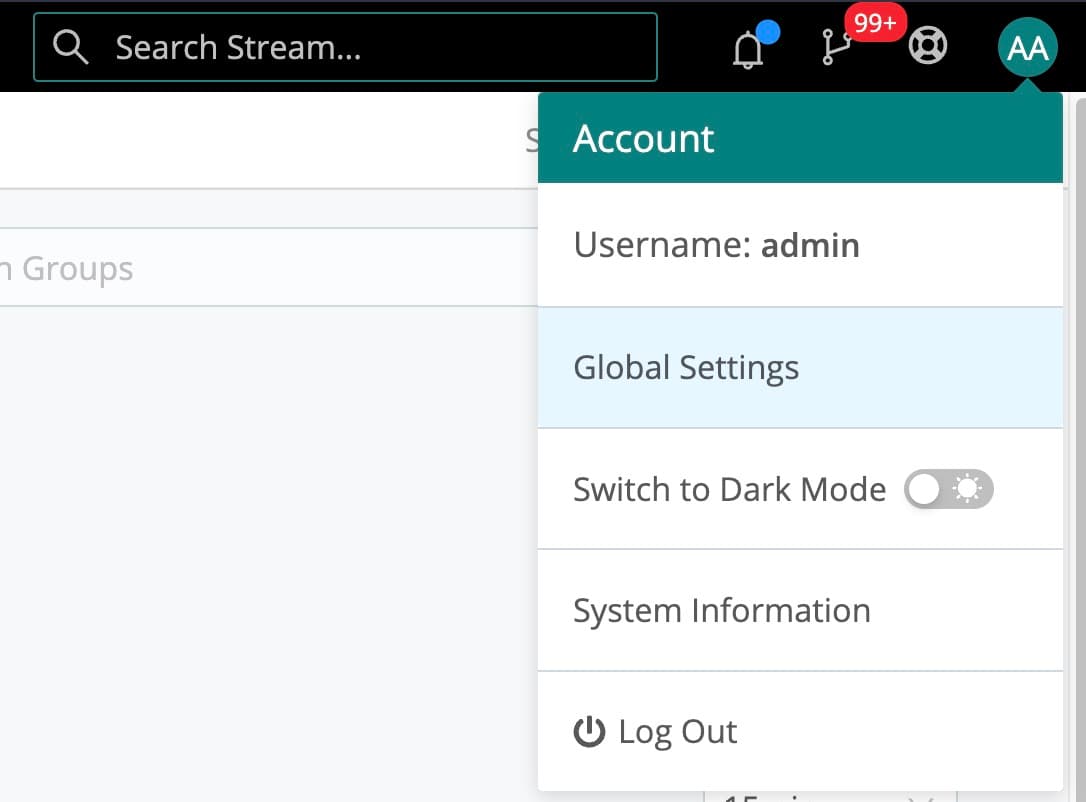
The Global Settings area, since 4.0, is found in the top nav bar in Settings, or under the dropdown menu in the upper right corner:


Once there, go to System -> General Settings -> API Server Settings -> TLS and slide the Enabled switch to on:

After you slide the Enabled switch you’ll see new options in the screen. The first dropdown is to select which certificate to use. Chances are this is empty, unless you’ve cheated and worked ahead. If it is empty, click the Create button. On the resulting screen, you can drag-n-drop your certificate, key, and CA certificate files into place; hit the upload button; or you can copy-paste the ASCII versions of them into the boxes. Give your new certificate config a name, enter a private key password if required for your key file, and click Save.
This process creates a certificate object you can refer to in other places in the global config if needed. Worker Groups’ contexts cannot see this object. Config contexts are an important concept in Cribl.
Now that you’ve created (and/or selected) a cert, you can click Save on the TLS settings page. This action will cause Cribl to restart. It should redirect to the secure version automatically. If not, no worries, just change your URL to include https instead of http.
You can now communicate with your Leader node securely. Give yourself a pat on the back. You’re halfway there.
Note there are no changes to be made on the browser side in most situations. The client (browser) is using the certificate provided by the server side. This concept will come up again with the control channel.
The Leader Control Channel
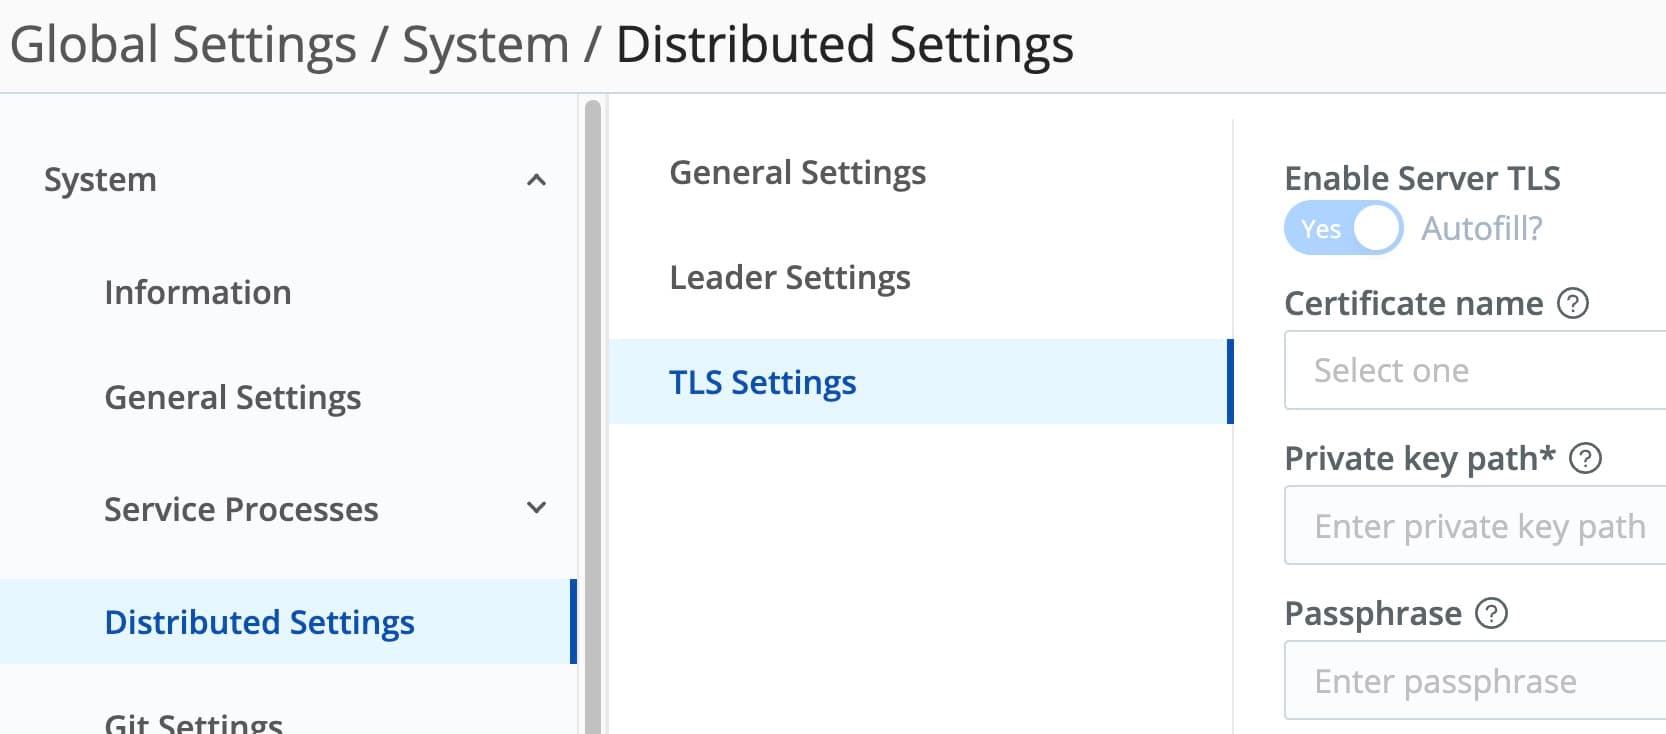
Worker and Edge nodes communicate with the Leader over TCP 4200 to get their config instructions. By default, this channel is also unencrypted. Using the same basic process as above, we can enable TLS for the interface listening on TCP 4200. Navigate to System -> Distributed Settings -> TLS and slide the Enable Server TLS switch to Yes. The screen is nearly identical to the one we worked on a moment ago.

As noted in that section, you can re-use the same cert object. Best practice would probably dictate you do not. Instead, create a new cert just for this purpose. Take your pick.
Hint: Do the right thing. Use a different cert for different use cases!
If You Already Have Nodes Connected…
They will drop from the Leader once you hit save! That’s because their configs were set-up before you enabled TLS. You’ll need to change them to connect using TLS. This can be done a few different ways, depending on how you initialized the nodes
Re-deploy them using the new configs provided in the Add Node pop-up, which will now reflect the fact your Leader is requiring TLS.
Edit the file on each Worker node at $CRIBL_INSTALL/local/_system/instance.yml, change tls-> disabled from true to false; and restart.
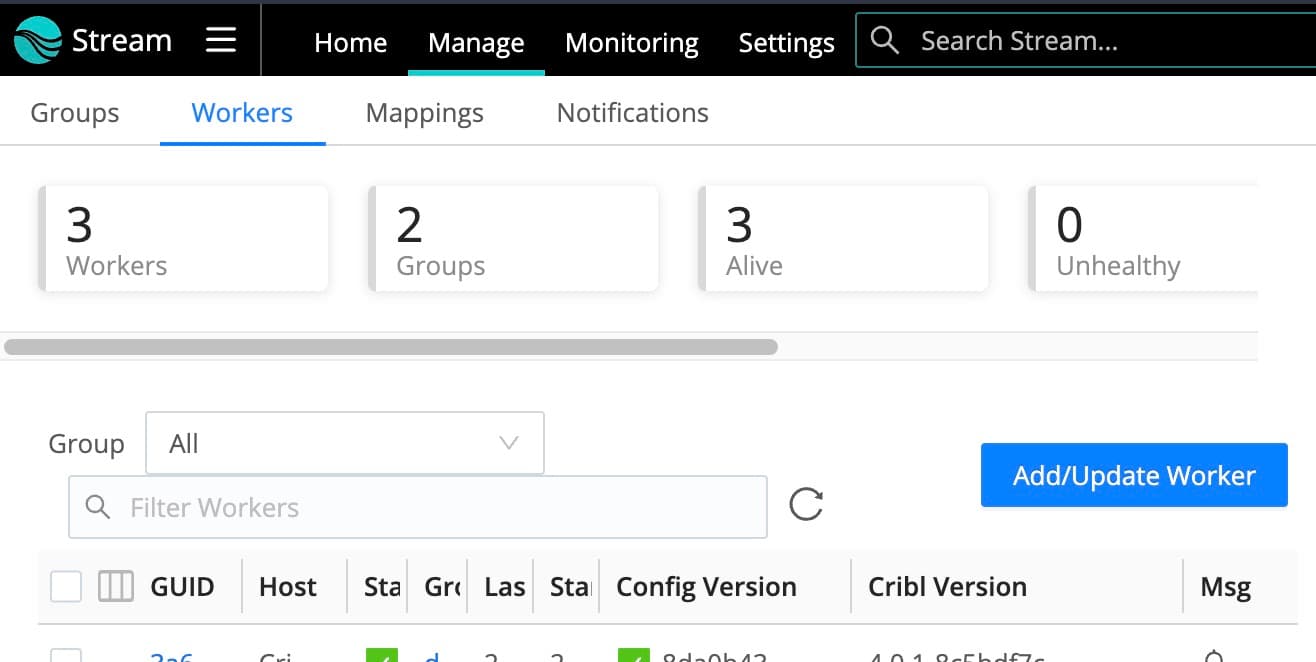
Use the Add/Update button in the Worker tab to grab the Update existing CLI entry.
Update the environment variable CRIBL_DIST_MASTER_URL on each Worker node to reference tls:// instead of tcp://. (This could apply to systemd or container settings.)
If You Are Bootstrapping New Nodes…
Use the Bootstrap new link in Manage -> Workers -> Add/Update Worker to bring up the new node:

Conclusion
We’ve demonstrated that enabling TLS doesn’t have to be a trial. The process for enabling secure communications to the Leader for GUI, API, and Worker communications is pretty straightforward: Mind context, load up the cert, key, and CA cert, and restart. Roughly the same steps apply to Worker Groups to enable TLS on Worker Nodes for sources they receive.
Go forth and secure All The Things! Previously, we published a blog for mutual TLS enablement, which is a little more involved that you might want to check out as well.

The fastest way to get started with Cribl Stream, Edge, and Search is to try the Free Cloud Sandboxes.


