This blog post provides a step-by-step guide to managing Cribl Packs using Git and unlocking the benefits of a traditional development lifecycle for Cribl configurations. It demonstrates how to version control a Cribl Pack, create and manage development branches for modifications, and ultimately deploy updates to a production environment. This post is a deep dive into what deploying Packs with git can look like while the, “Git your packs into Cribl” post reviews the overall framework at a less granular level.
So, if you’re ready to dive into the details, let's go!
Tutorial Steps:
Export a Pack from Cribl
Create a git repository and dev branch
Import the dev branch into a Worker Group
Update your dev branch Pack in Cribl
Export updated dev branch from Cribl and commit to Git
Merge dev updates into main
Pull main Pack updates into another Workspace
Export a Pack From Cribl
Select a Worker Group > click Processing > click Packs
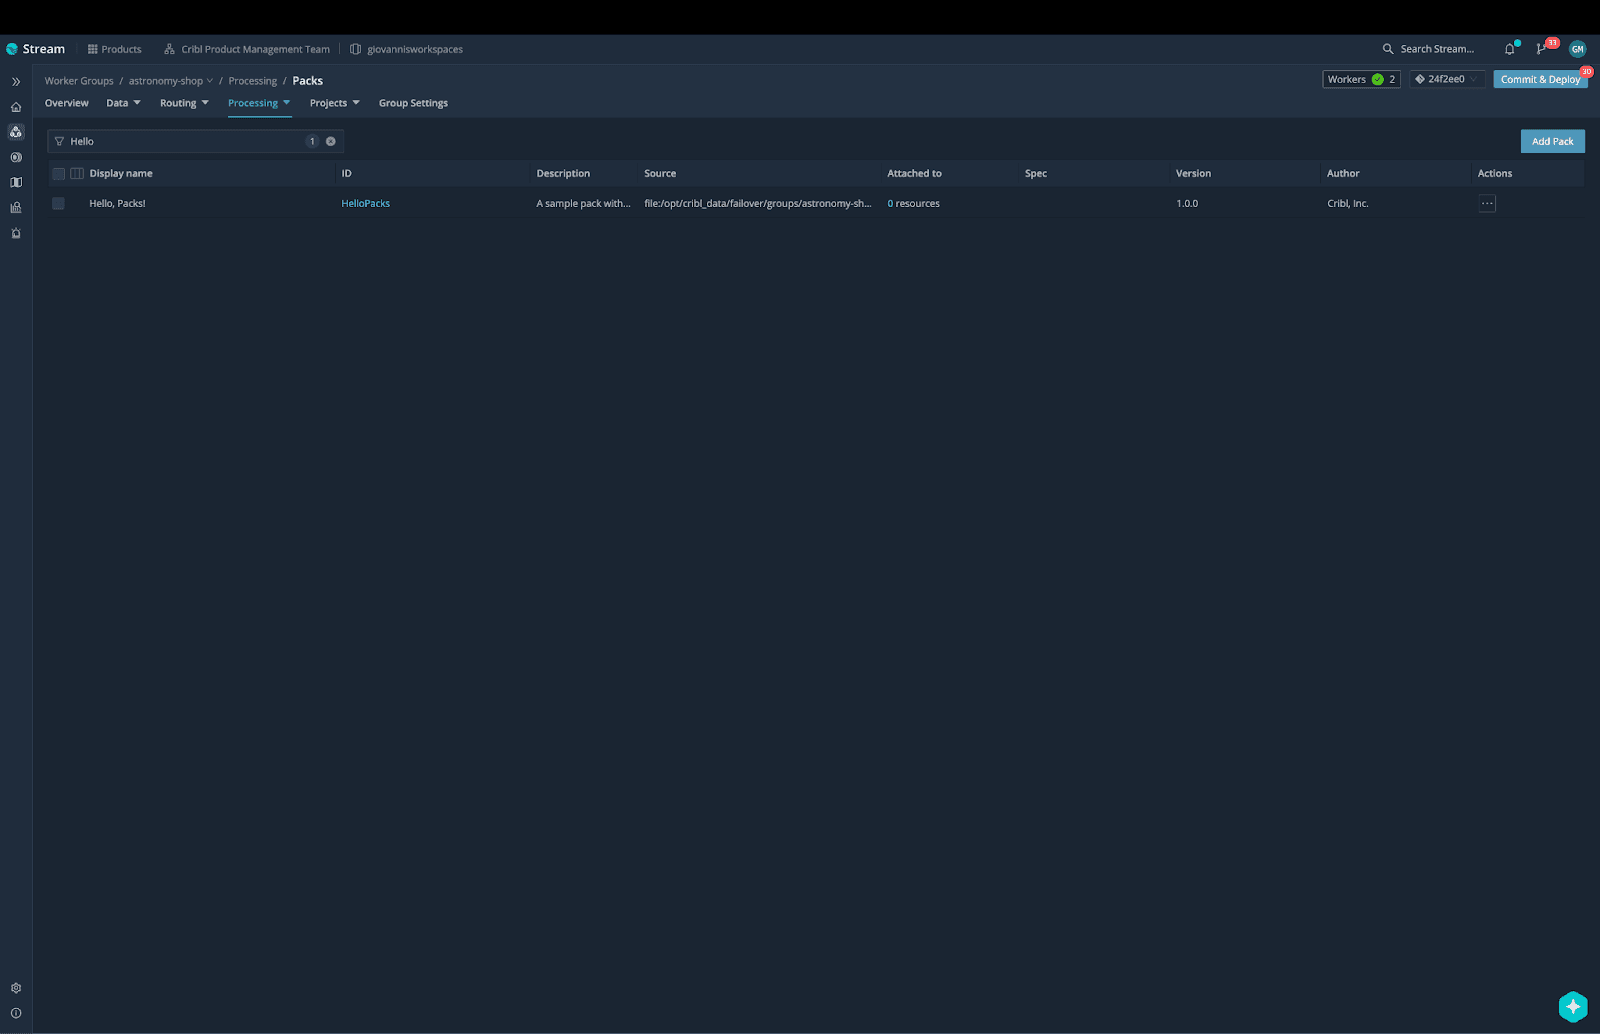
Choose a Pack from the list (in this example, I will be using HelloPacks!)
Under the Actions column, click Export

Select Merge > click Export

Create a Git Repository and Dev Branch
Now that your Pack is exported to the Downloads directory, let's create our HelloPacks Git repository.
For this tutorial, I will be using GitHub, but feel free to use any Git-based tool. In Github, select the Repositories tab and click the New button
Name your repository HelloPacks for this example
Choose public or private - for this example, we are selecting private
Leave the rest of the options unchecked and click Create repository

Now you should see the following screen indicating that your repository was created successfully.
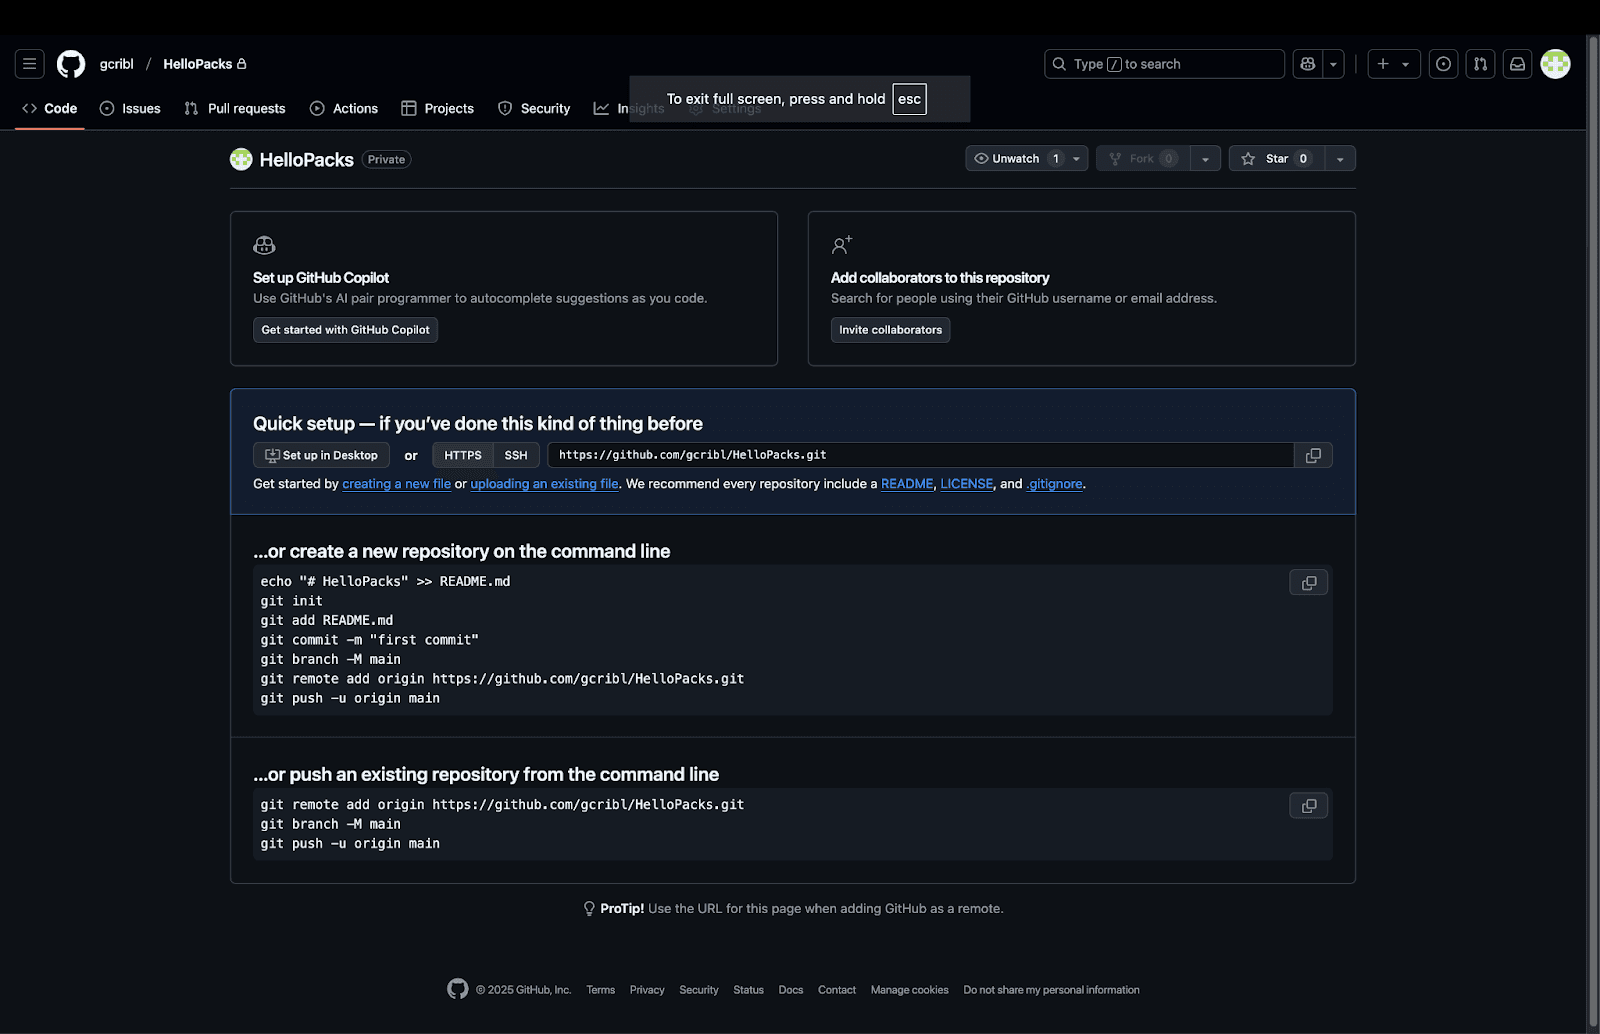
Return to your server or CLI and create a new directory (my directory is called HelloPacks)
mkdir HelloPacks
Copy the .crbl file into the new HelloPacks directory
cp /home/Downloads/HelloPacks.crbl /home/HelloPacks/
cd into that directory
cd HelloPacks
uncompress the crbl file
tar xvf HelloPacks.crbl
Now we can use the commands from the “create a new repo” section to get our Pack content into the new HelloPacks repo.
git init
git add .
git commit -m "first commit"
git remote add origin git@github.com:gcribl/HelloPacks.git
git push -u origin main
Returning to my Github repository, I can now see all of my Pack content and you have successfully uploaded your Pack to Git!

Now, let's create a dev branch for the repository. In the Code tab, I can click New branch and enter the branch name as dev, as seen in the screenshots below.
Alternatively, if I wanted to do this with the command line, I could use the command
git checkout -b dev

Import the Dev Branch Into a Worker Group
Now that you have your dev branch created, let's import it back into Cribl Stream. If you are using a private repository, make sure you create a personal access token first, and refer to this link to install a pack from git URLs.
If your repository is not private you can use the https link provided from the repository’s clone url.
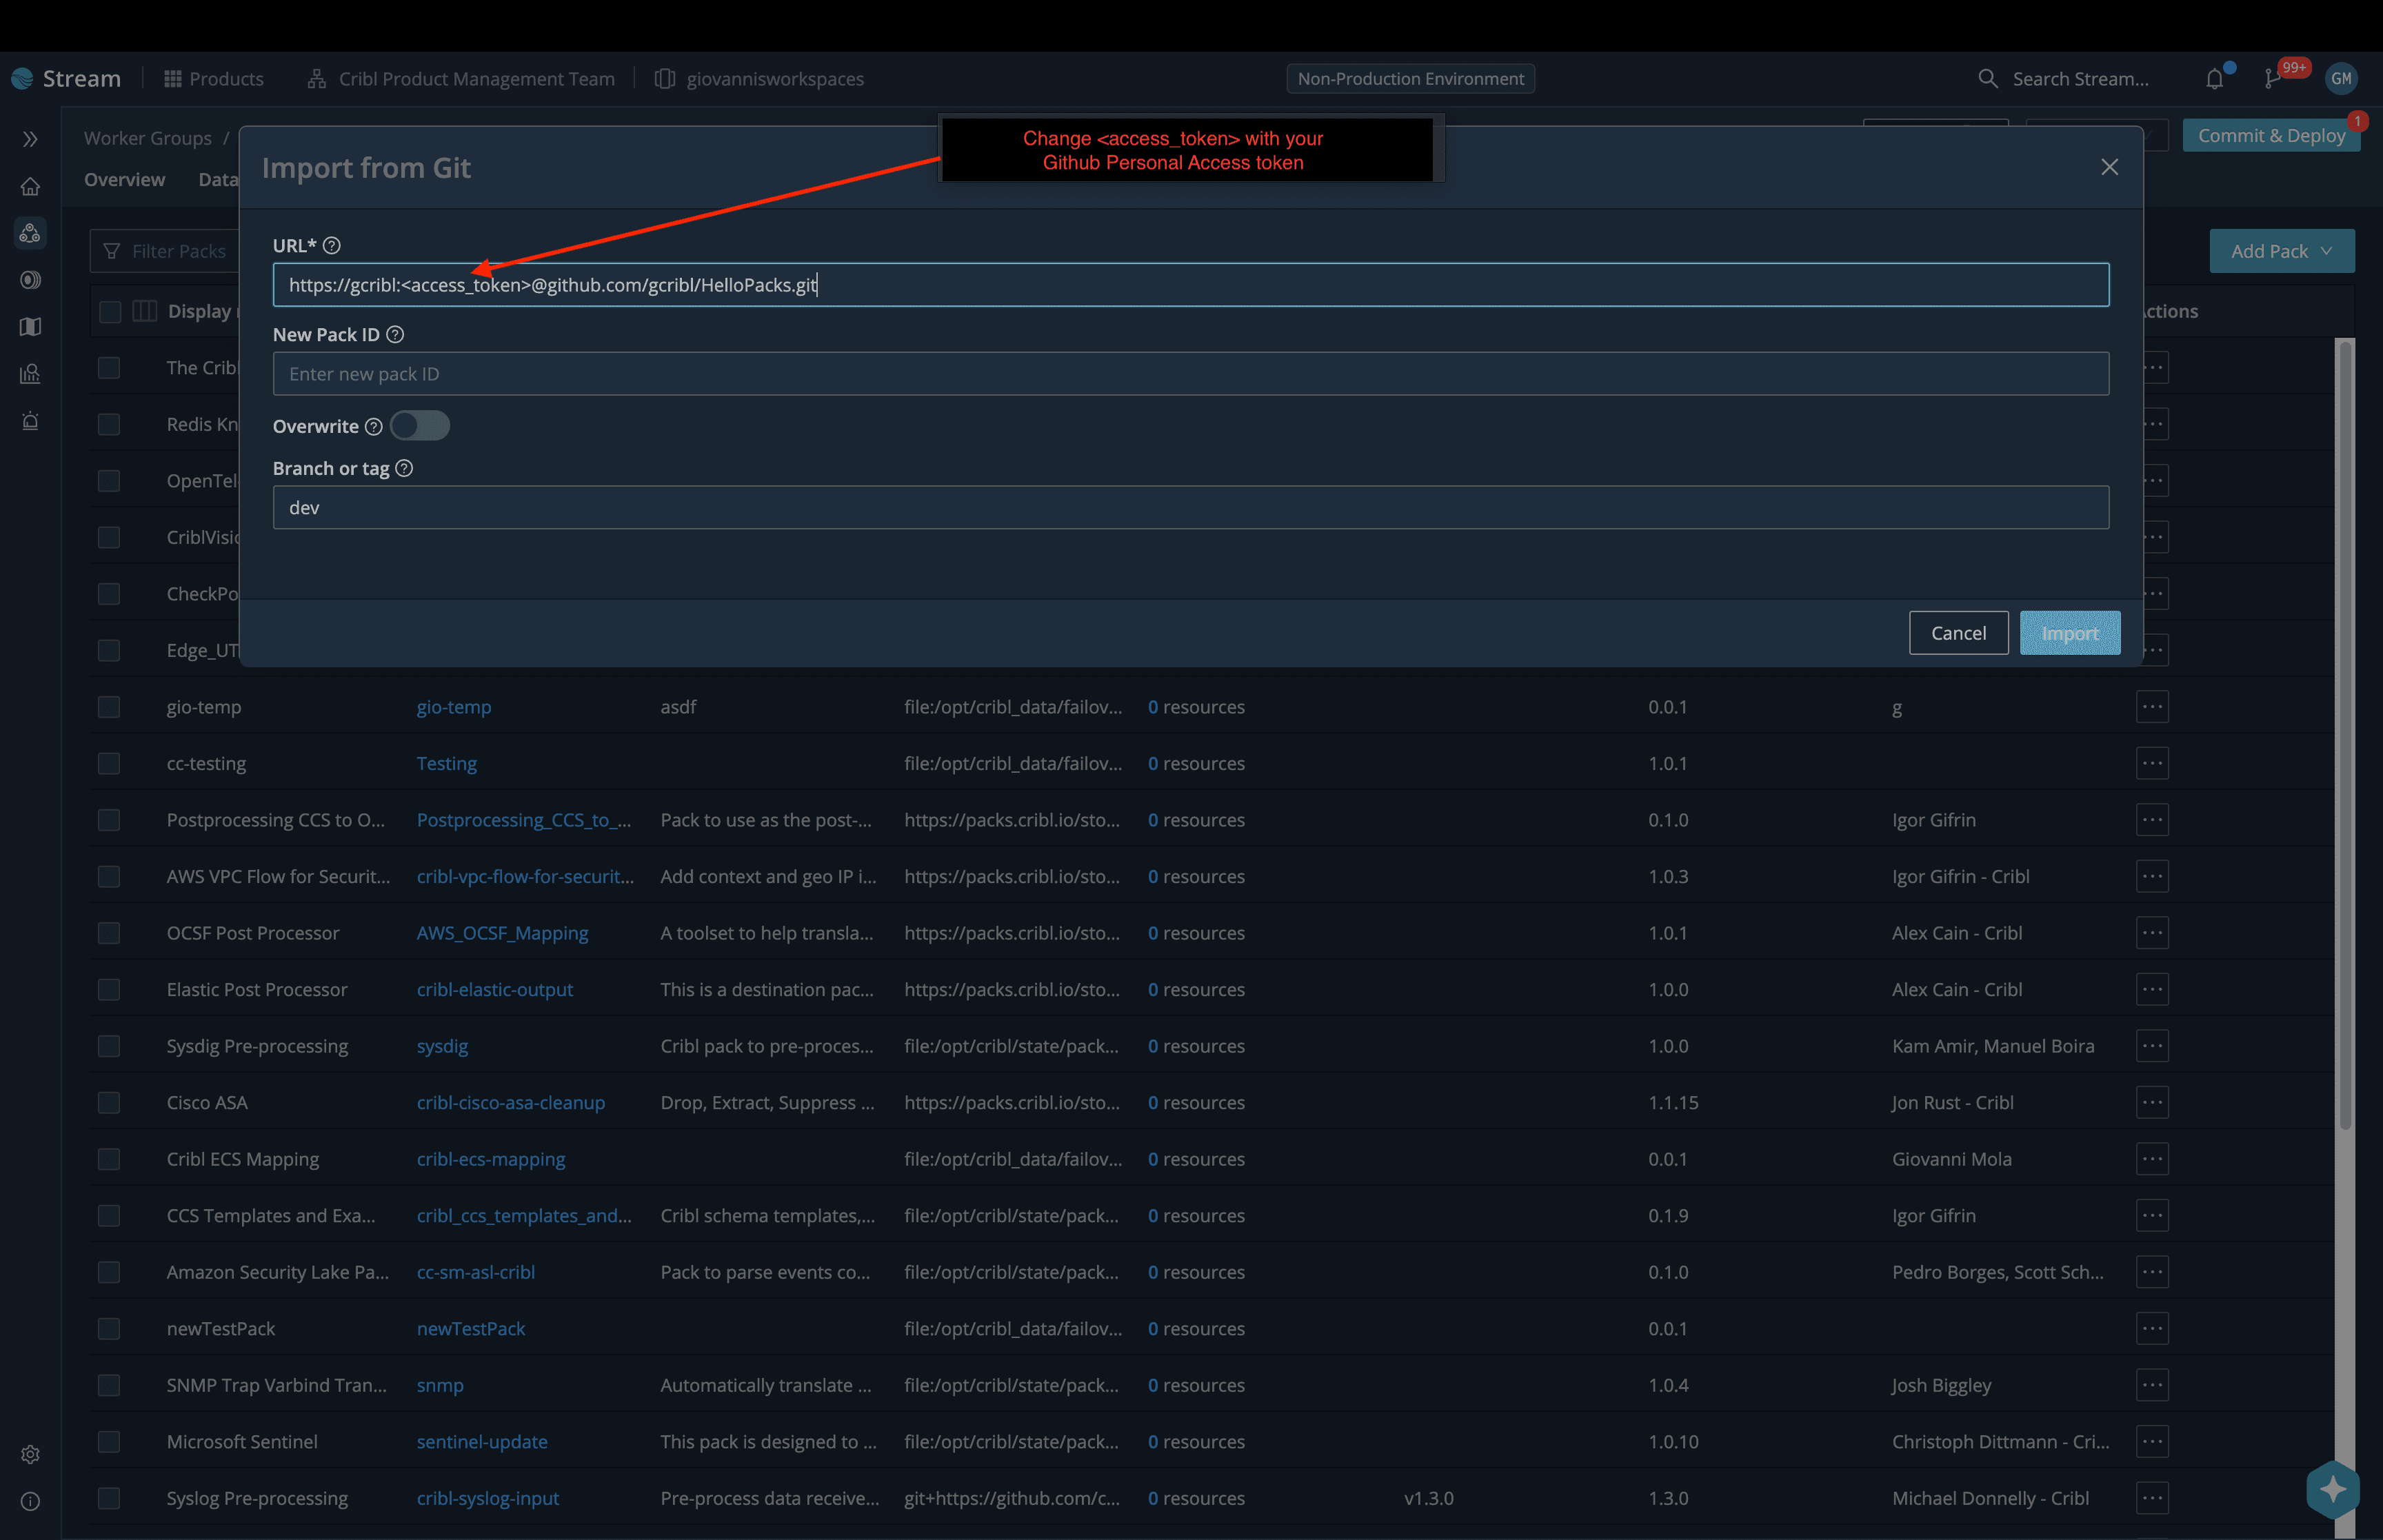
In this example, I am importing from a private repository, so the URL is formatted with the access token as seen below:
https://gcribl:<access_token>@github.com/gcribl/HelloPacks.git
I’m also referencing the dev branch so I can modify this branch’s code before promoting it to main or prod.
Update Your Dev Branch Pack in Cribl
Now that my import was successful, I will jump into my pack and make an update on the pipeline.
Here, I am adding two eval functions that will capture the duration of time it takes for each event to process. I am only adding one field called duration to each of my events.
I can see from my OUT window I successfully calculated the duration in milliseconds.
I’m also going to modify the version of my Pack to 1.0.1 by going to Pack Settings>Pack Info > Changing the Version field to 1.0.1

Commit and deploy to my Worker Group.

Export Updated Dev Branch From Cribl and Commit to Git
To commit these changes back to my dev branch in Git, I need to export my Pack again.
Return to the Pack lister page, click Export from the actions column > select Merge > click Export, and install the Pack to your computer.

On the CLI of your terminal, cd back to the HelloPack repository directory
cd /home/HelloPacks/

Ensure you are on the dev branch
git branch -a

Copy the new 1.0.1.crbl file into the HelloPacks directory
cp HelloPacks_1.0.1.crbl /home/HelloPacks/

Unpack the .crbl file
tar xvf HelloPacks_1.0.1.crbl

Git Add and Commit
git add.
git commit -m "version update plus evals for duration"

Push the update to your dev repository
git push origin dev

Merge Dev Updates Into Main
Return to your git repository and observe the updates to the dev branch.

Click the Compare & Pull Request button to view changes between the dev and main branches of my Pack.
This workflow unlocks all of the powerful capabilities of change management for Cribl Packs, like adding Reviewers and Assignees, and advanced workflow options like automatically deploying to Cribl Worker Groups, Workspaces, or instances.

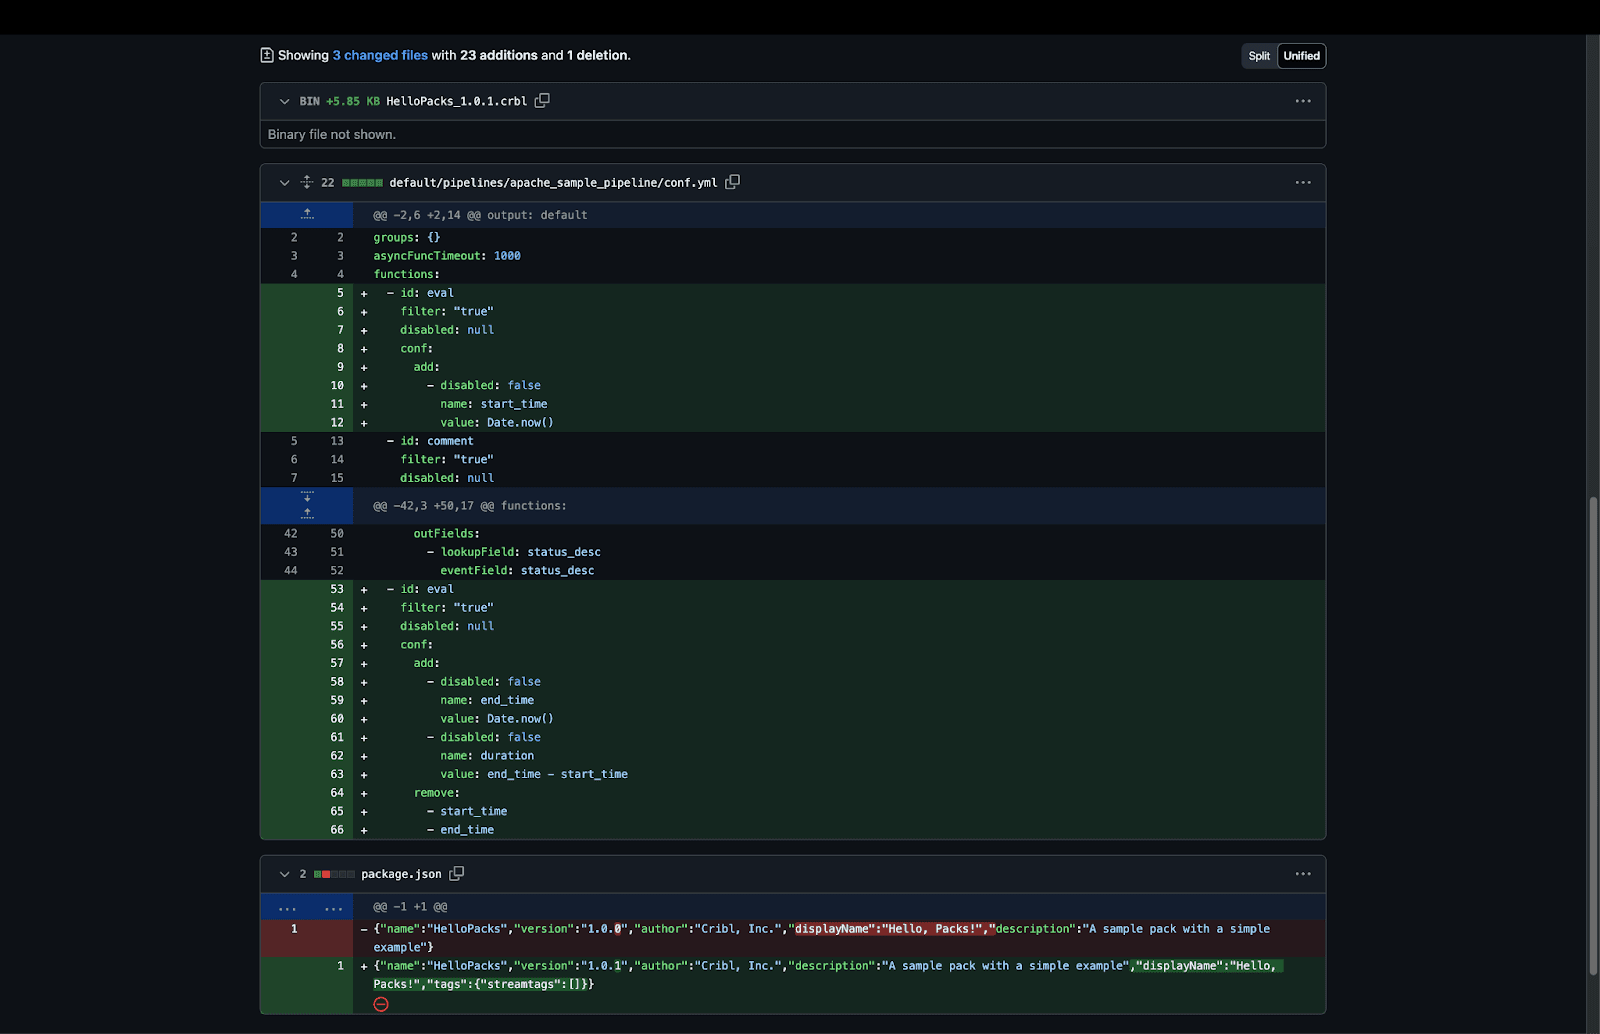
After reviewing the changes between dev and main, it's time to click the Merge pull request button.
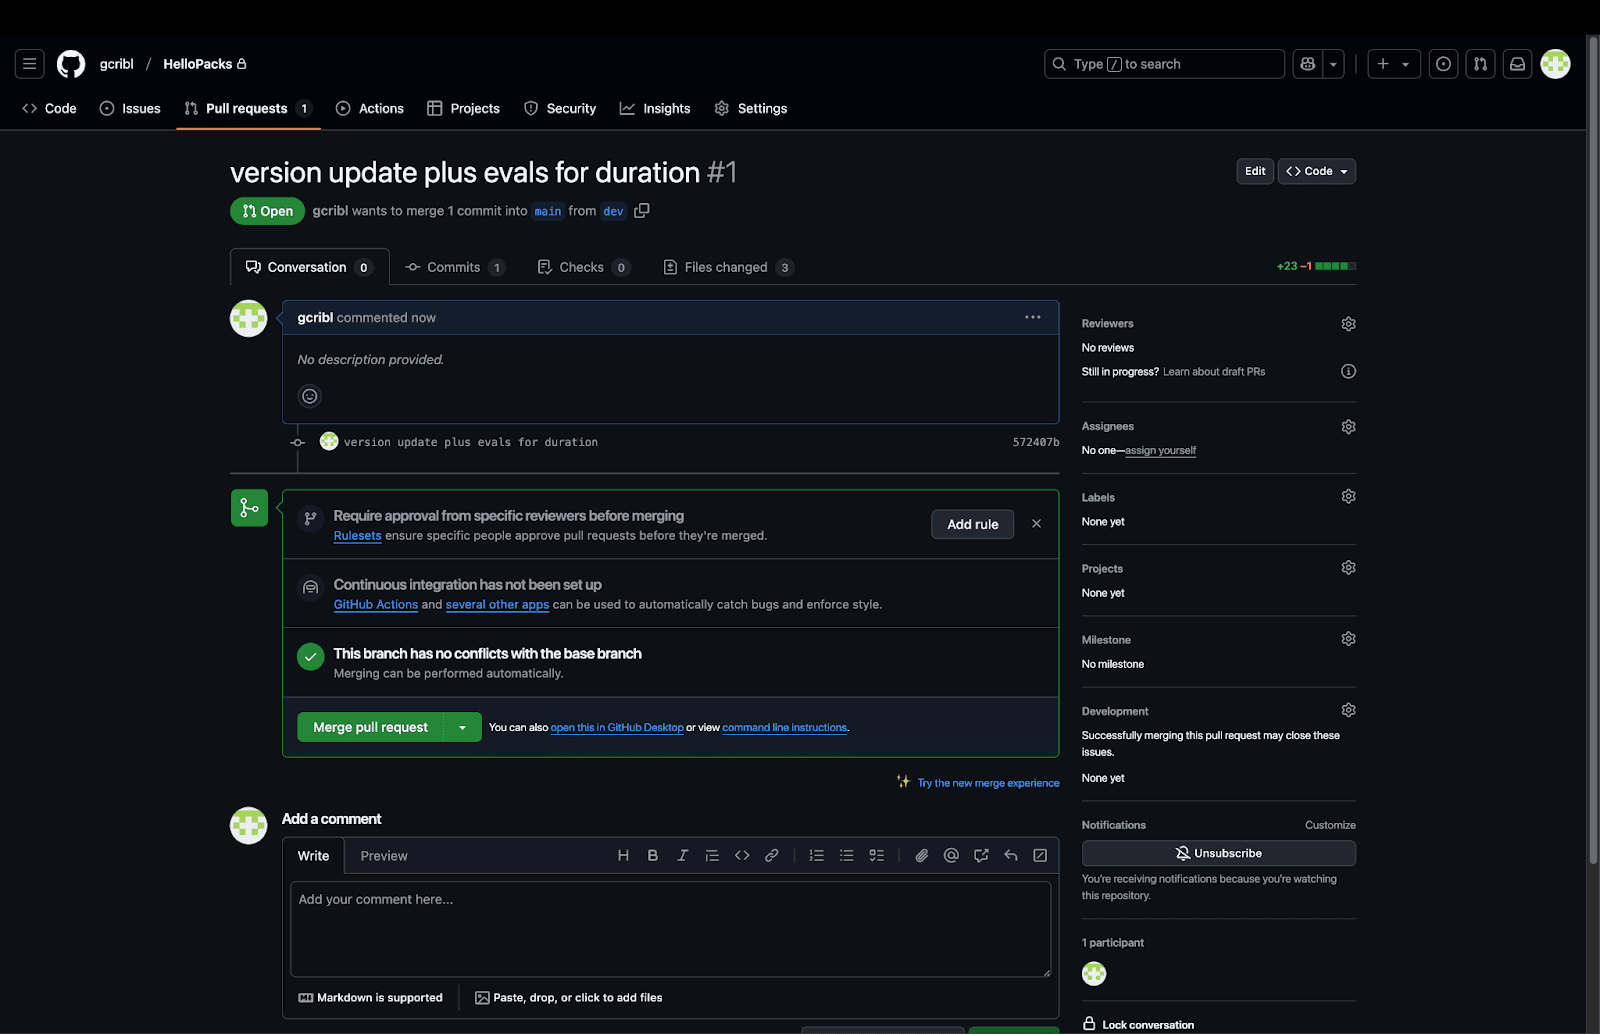
Now click Confirm merge.
Ensure Create a merge commit is selected.

And voila, my branch was merged into main : )
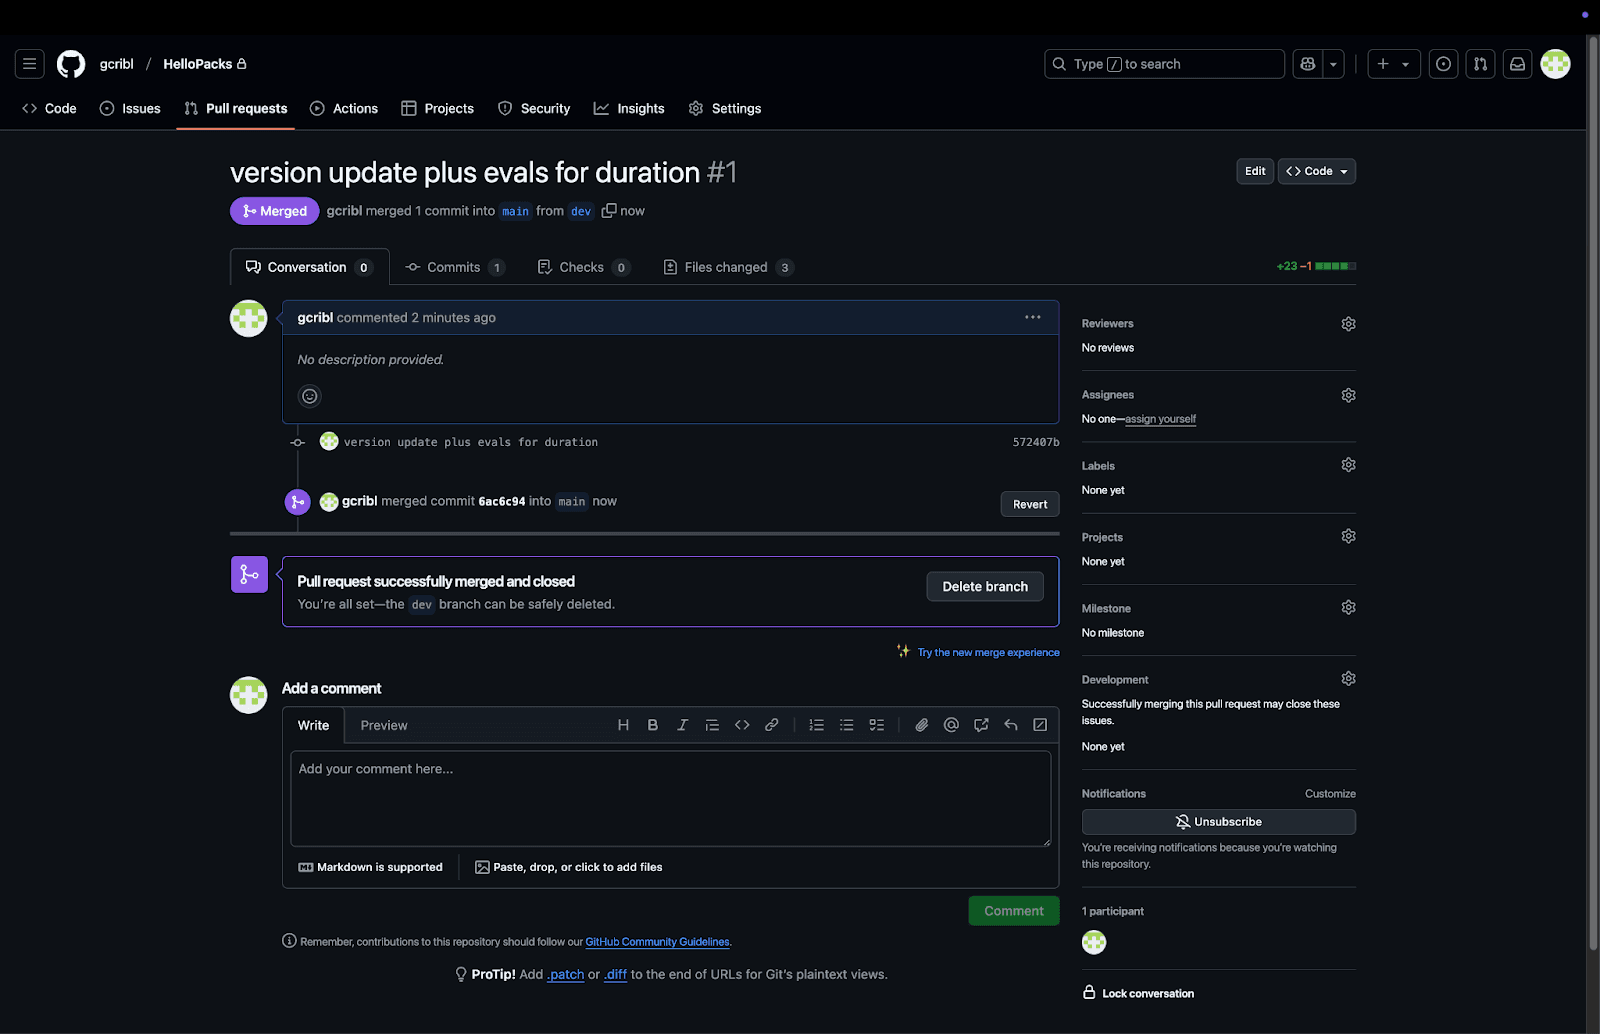
Pull Main Pack Updates Into Another Workspace
Returning to the Cribl Stream console, I will go to my Main Workspace in Cribl (for other folks on-premises, this could be the equivalent of your test/production Cribl instance).
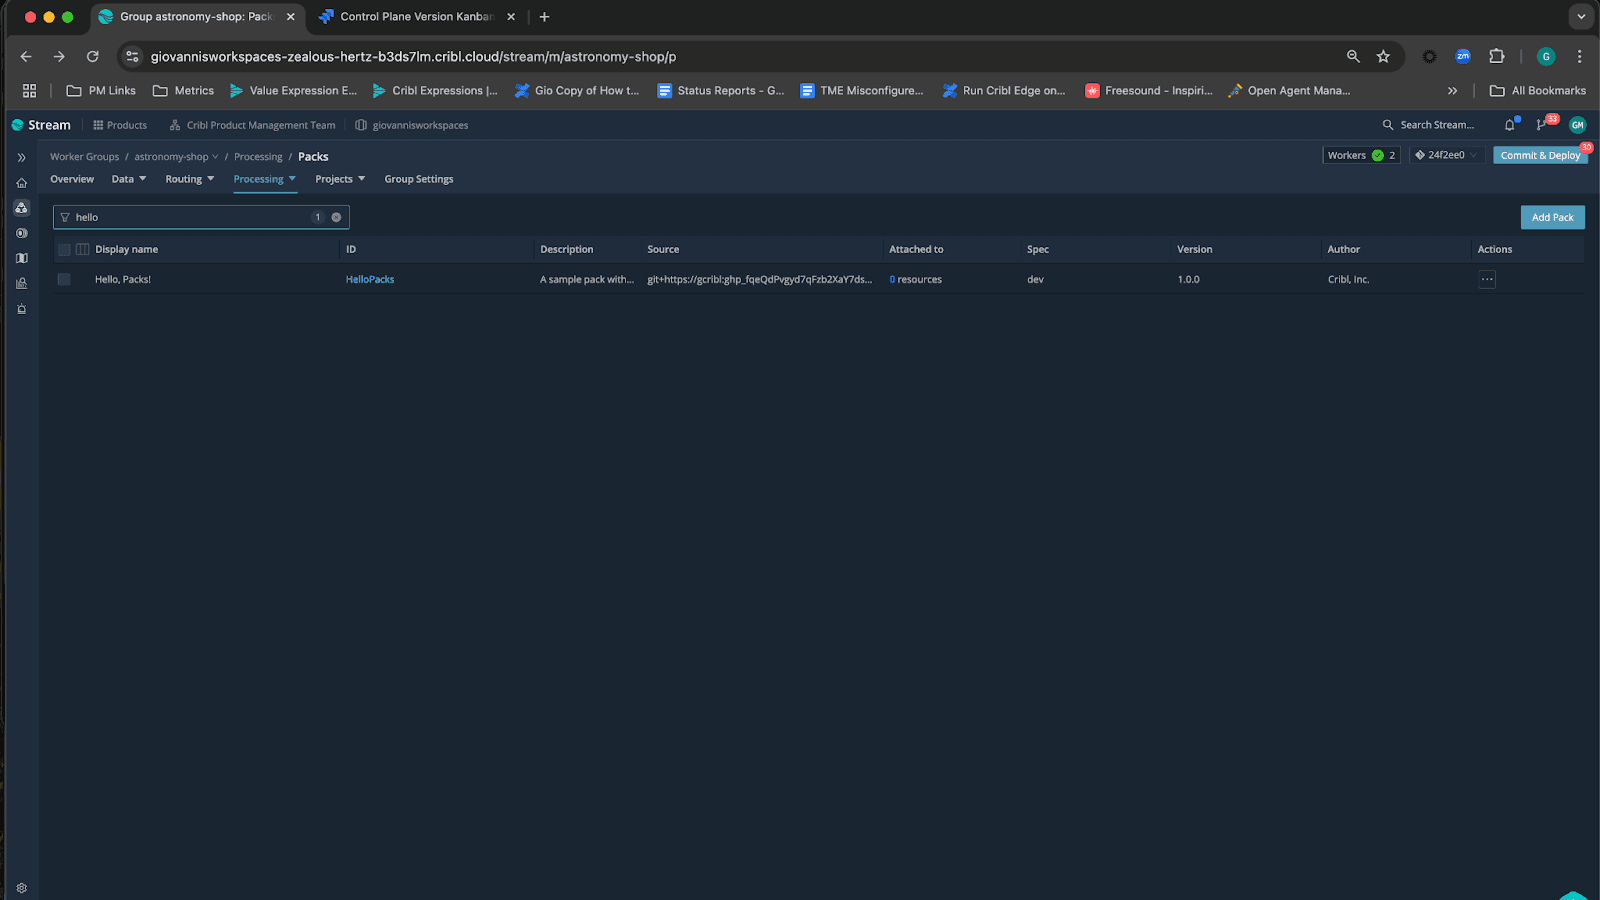
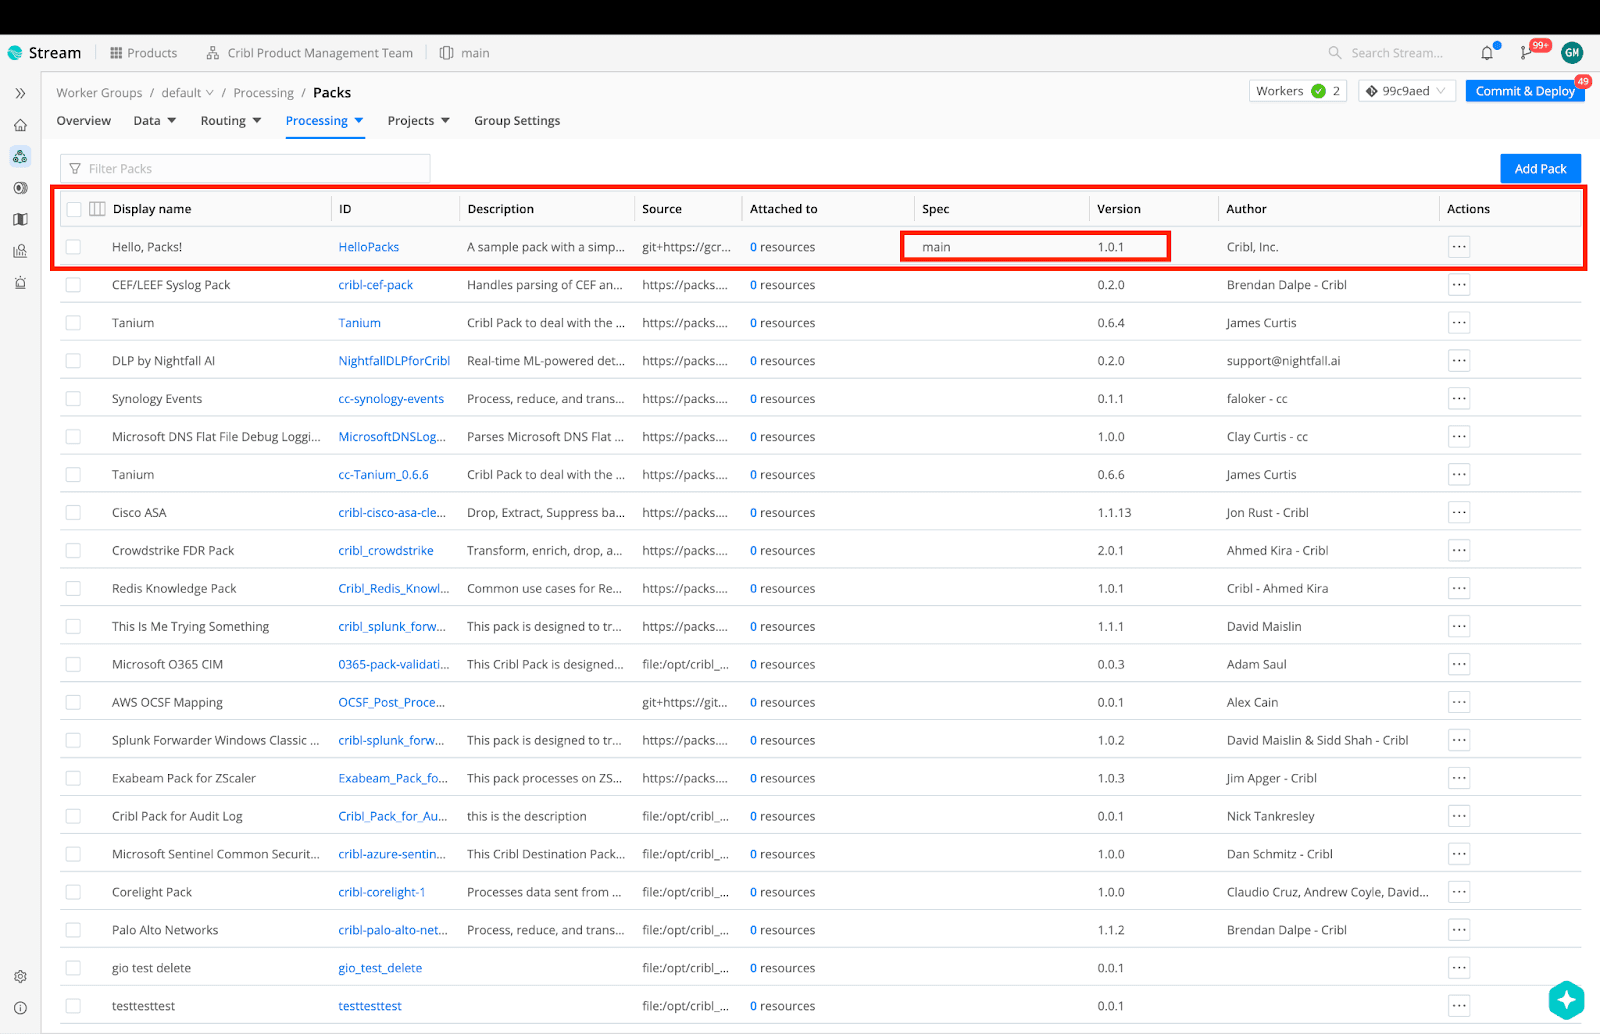
On the Pack lister page, HelloPacks is displayed, and the spec is set to the main branch of the git repository. I can see this version of my Pack references v1.0.0, but there is an update available that I would like to pull into my Main Workspace.

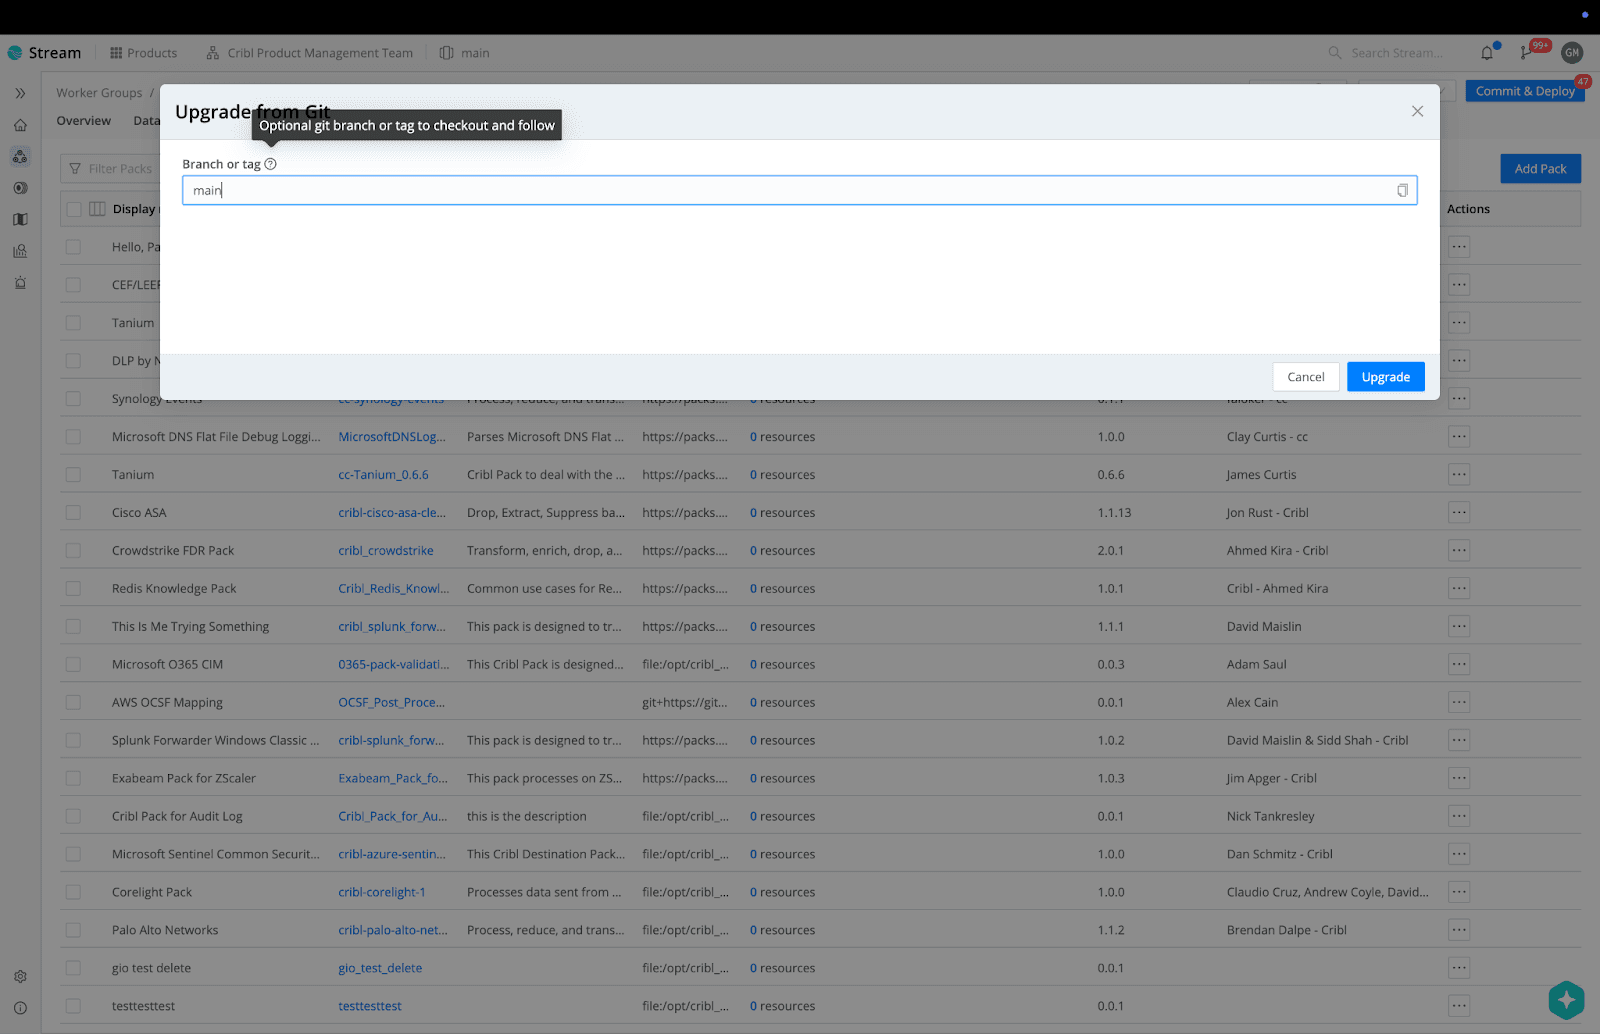
Click the Actions kebab on the right side of the screen > then click the upgrade button.
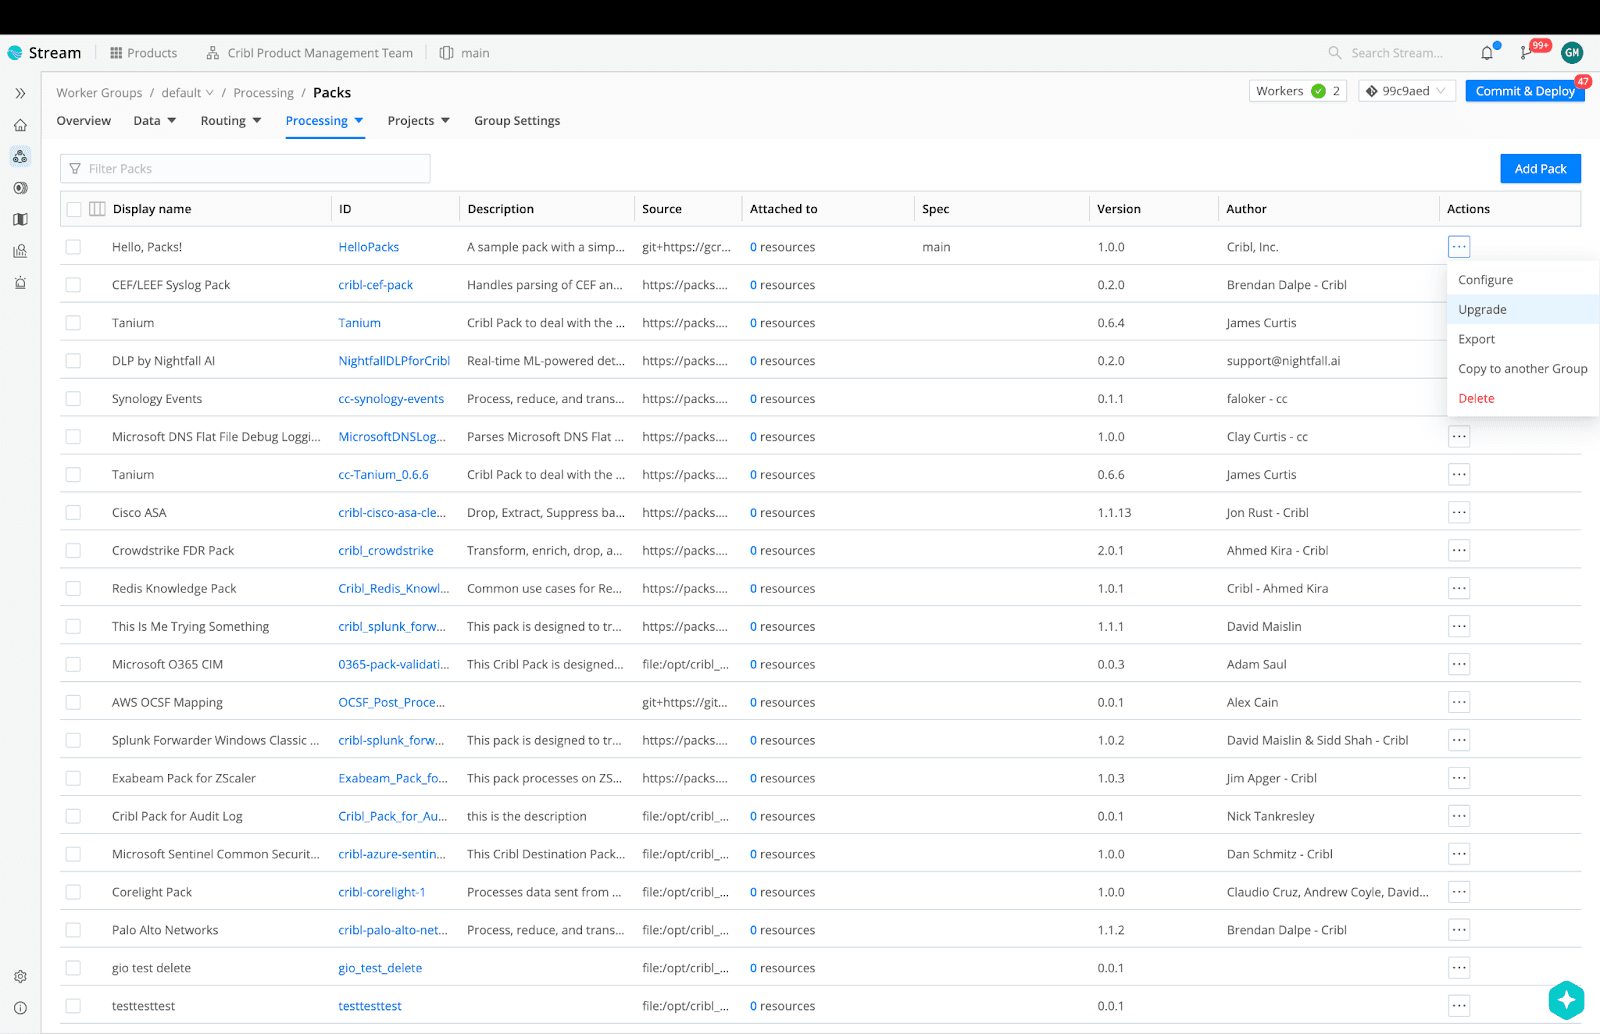
I will keep the same branch as main since this is my production Workspace and I only want to pull tested Packs into prod, which is represented by the main branch. Click upgrade.
Now I can see the Pack version number upgraded successfully and I have the latest Pack on my prod environment. The same process can be applied to both Worker Groups, instances, and Workspaces when it comes to how you might move a git-based Pack around your Cribl deployment.
You successfully branched and tested changes in a Pack before deploying those updates into your production Cribl Workspace. Using the import from git feature for Packs gives you complete control and flexibility in the change management lifecycle for Cribl configuration updates.
